Using simple login for authentication
| Background |
|---|
Before starting this tutorial, make sure you understand the following topics from the Quick start section:
|
Simple Login allows trusted users to proceed directly to the retail/MOTO iframe without the necessity of entering a Nexio username and password.
This option is useful for cases in which multiple users will be using a single Nexio account for running retail transactions.
It can also save time for internal users by eliminating the need to enter a username and password upon each login.
To implement simple login, do the following:
-
Create a webpage for your trusted users to access that calls a backend server to get the simple login key.
<html>
  <head>
    <title>Retail Testing</title>
    <link rel="stylesheet" href="mystyle.css">
  </head>
  <body>
    <script>
      function getSimpleLogin() {
        fetch('http://localhost:3000/', {
            method: 'GET'
        }).then(function (response) {
            return response.json();
        }).then((objData) => {
            console.log('------->response Data', objData);
            let iframe = document.getElementById('myIframe');
            iframe.src = 'https://retail.nexiopaysandbox.com/?simpleLogin=' + objData.key;
        });
    	}

    	getSimpleLogin();
    </script>
    <div>
      <h3>Retail Processing</h3>
      <p>Provide transaction information below:</p>
    	<iframe id="myIframe" name="myIframe" src=""></iframe>
    </div>
  </body>
</html>
-
The backend server (at "http://localhost:3000/") then calls the Create simple login endpoint.
The following code from the backend sets the login information, gets the call from the frontend, makes the API request, and returns the response to the frontend.
const encodedLogin = '[base64_encoded_login]';

app.get('/', (req, res) => {
    return getSimpleLoginFunction().then((response) => {
        console.log('------->Nexio API response', response);
        return res.json(response);
    })
});

function getSimpleLoginFunction() {
    return fetch('https://api.nexiopaysandbox.com/auth/v3/createSimpleLogin', {
        method: 'post',
        headers: {
            'Content-Type': 'application/json',
            'Authorization': `Basic ${encodedLogin}`
        }
    }).then((res) => {
        console.log('------->get Nexio API res', res);
        return res.json();
    })
};
{
  "exp": "[expirationdate_as_unix_number]",
  "jwt": "[json_web_token]",
  "key": "[unique_key]",
  "refreshToken": "[refresh_token]",
  "username": "[api_user_email]"
}
-
The frontend takes the response returned from the backend and uses the
keywith the retail iframe location to add the simple login value. It then updates the iframesrcwith that URL (see lines 13-17 in the example with Step 1).Notes- Each key can only be used once and expires after one hour.
- Instead of loading the iframe to your own page, you could provide a link to your user that opens the retail page and includes the simple login:
https://retail.nexiopaysandbox.com/?simpleLogin=[key] - The iframe may also be used without Simple Login by going to https://retail.nexiopaysandbox.com and logging in with your Nexio username and password.
When your trusted user accesses the webpage, the user sees the retail iframe.
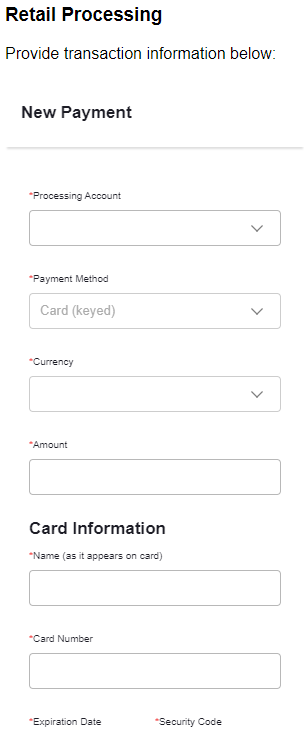
Example top portion of retail iframe
Next steps
After setting up simple login, you are ready to move on to customizing the page for what you need, or adding more pages, depending on your needs:
- Running a keyed transaction with the iframe for using the retail iframe (with or without the simple login) to run a transaction.
- Creating a save card page with the retail iframe for adding a page to only save a card token (instead of processing a transaction).
- Processing a transaction with a terminal for adding a page for connecting to a retail terminal and running a transaction.
Updated 10 months ago